Series: The UK Allotment Year
Phase 3: Organic & Eco-Friendly Gardening — Part 23 of 50
Focuses on sustainable, low-impact methods — no-dig approaches, composting, water-saving, and wildlife-friendly practices to create healthy soil and ecosystems.
How to Start a No-Dig Allotment: Tools and First-Year Results
Spring is a brilliant time to begin a no-dig allotment, especially as traditional digging can be back-breaking and disrupts soil life. No-dig gardening nurtures healthy soil ecosystems, reduces weeds, and saves time — ideal for busy UK plot holders wanting a greener, more sustainable approach. If you’re curious about how to set up a no-dig plot and what to expect in your first year, this guide will walk you through the essential tools, steps, and seasonal timing to get growing.
Why Choose No-Dig?
- Soil health: No disturbance helps earthworms and microbes thrive.
- Weed control: Mulch layers suppress weeds naturally.
- Less labour: No heavy digging means less physical strain.
- Better moisture retention: Mulches keep soil damp through dry spells.
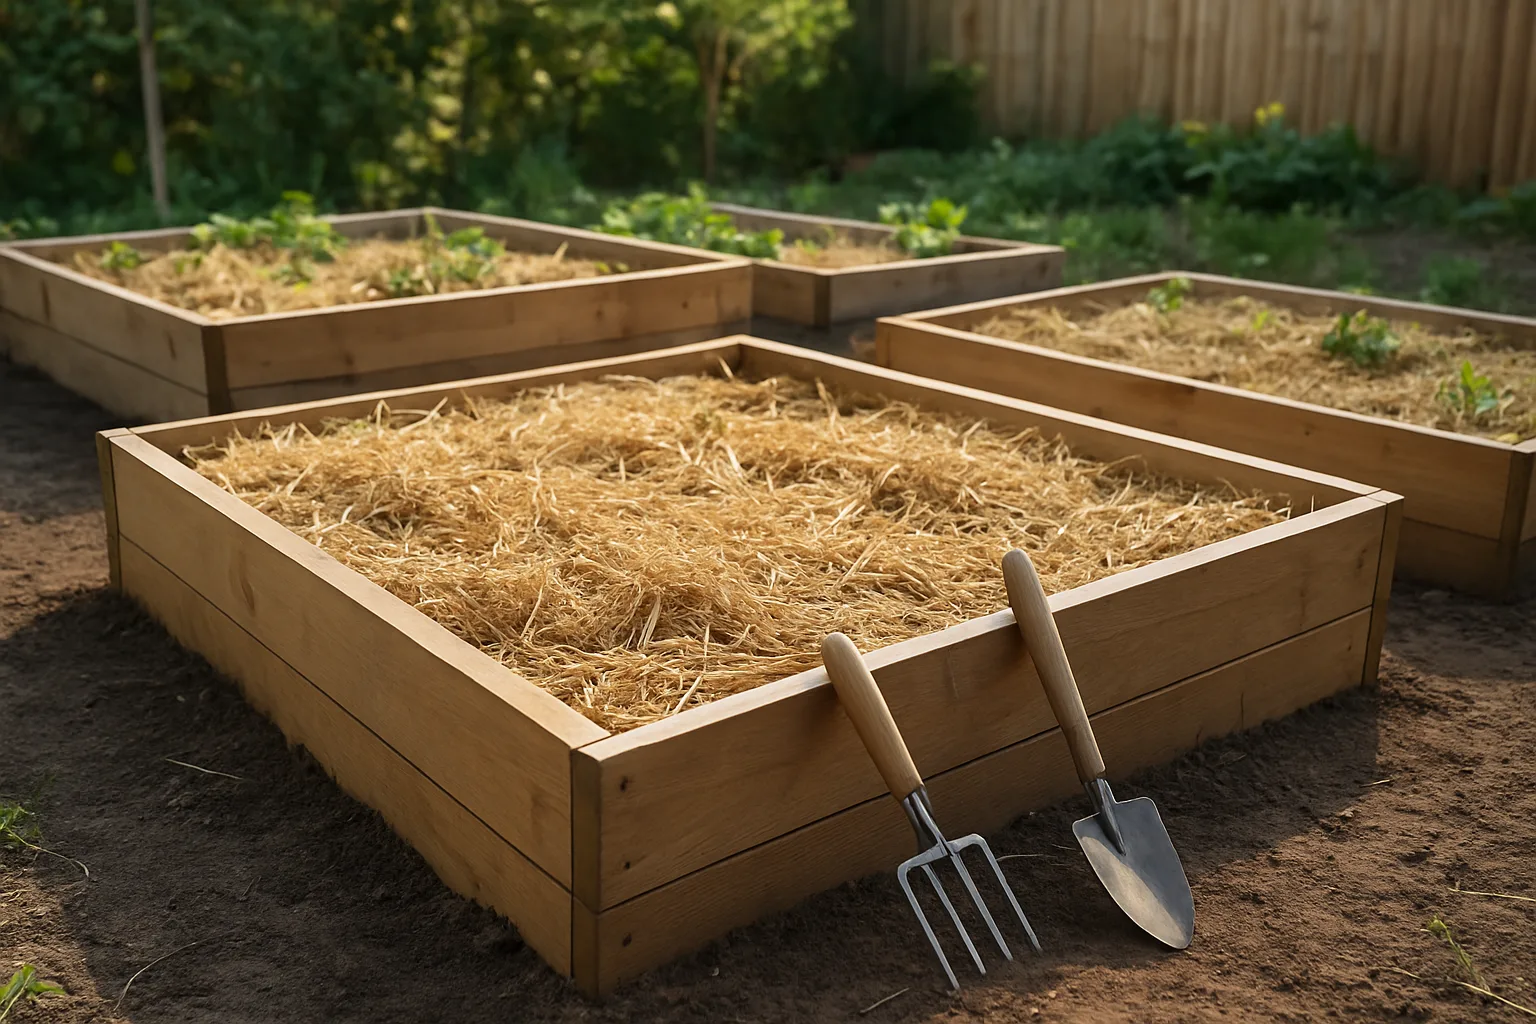
Key Tools and Materials for Starting Your No-Dig Allotment
- Garden fork: For gently lifting perennial weeds and aerating if needed.
- Garden scissors or secateurs: Handy for cutting weeds or trimming mulch materials.
- Wheelbarrow or tarp: To move organic matter and compost.
- Compost or well-rotted manure: The backbone of soil fertility and organic matter.
- Mulching materials: Straw, shredded leaves, grass clippings, or cardboard—choose what’s available and local.
- Watering can or hose with a fine rose: For gentle watering during dry periods.
All materials should be organic and free from weed seeds or chemicals to maintain a healthy, eco-friendly plot.
Step-by-Step Guide to Setting Up Your No-Dig Allotment
- Clear the plot of large weeds and debris. Pull out perennial weeds like docks and bindweed by hand or lift them carefully with a garden fork to minimise soil disturbance. Remove any rubbish or old plant material.
- Lay down a weed-suppressing base layer. Use thick cardboard or several layers of newspaper, overlapping edges well to block light. Soak this layer to keep it in place and encourage decomposition.
- Add a generous layer (10-15cm) of compost or well-rotted manure. This feeds the soil organisms and plants. Spread evenly over the cardboard base.
- Top with a mulch layer. Use straw, shredded leaves, grass clippings, or a mix. This locks in moisture, suppresses weeds, and breaks down slowly to feed the soil.
- Wait a few weeks if possible. This gives soil life time to activate and start breaking down layers before planting.
- Sow or plant directly into the mulch. Make small holes or pockets to place seeds or seedlings, then gently firm the surrounding mulch.
Timing Your No-Dig Setup Through the Year
- Early spring (March-April): Prepare your site as above, aiming to have layers down before the main growing season.
- Late spring to summer: Plant fast-growing crops like salad leaves, radishes, and beans directly into the mulch. Keep mulch topped up with seasonal materials.
- Autumn: Add more organic matter and mulch after harvesting to protect soil over winter.
First-Year Expectations and Results
In your first year, you might notice fewer weeds, easier maintenance, and healthier crops. The soil will feel crumbly and rich to the touch as organic matter builds. Some early challenges include persistent perennial weeds (which require manual removal) and needing to top up mulch regularly to maintain good coverage.
With time, no-dig plots become more fertile and balanced, leading to bigger harvests and less work.
Quick Checklist for Starting Your No-Dig Allotment
- Clear plot of large weeds and debris
- Lay down soaked cardboard or newspaper base
- Spread 10-15cm of compost or well-rotted manure
- Apply mulch layer of straw, leaves, or grass clippings
- Water layers thoroughly
- Wait a few weeks if possible before planting
- Sow or plant directly into mulch pockets
- Top up mulch regularly throughout the season
Common Mistakes to Avoid
- Skipping weed removal: Perennial weeds left in place can take over later.
- Using untreated cardboard with inks or staples: Choose plain, clean cardboard to avoid chemicals.
- Not watering the layers: Dry layers won’t break down and will blow away.
- Planting too early: Soil and mulch need time to settle and support seedlings.
- Neglecting mulch maintenance: Thin or patchy mulch lets weeds in and dries out soil.
Next Steps This Month
If it’s early spring on your allotment, start gathering materials: collect cardboard, build a compost heap if you don’t have one, and source organic manure or compost. Begin clearing your plot and remove persistent weeds carefully. Lay down your no-dig layers as soon as the soil is workable, aiming to plant soon after if weather permits. Keep an eye on moisture levels and top up mulch when needed.
By following these steps, you’ll create a thriving, low-maintenance no-dig allotment that grows healthier soil and crops season after season.
Previous: Allotment Flowers for Pollinators and Colour
Next: Making Your Own Compost: The Perfect Mix for UK Conditions