
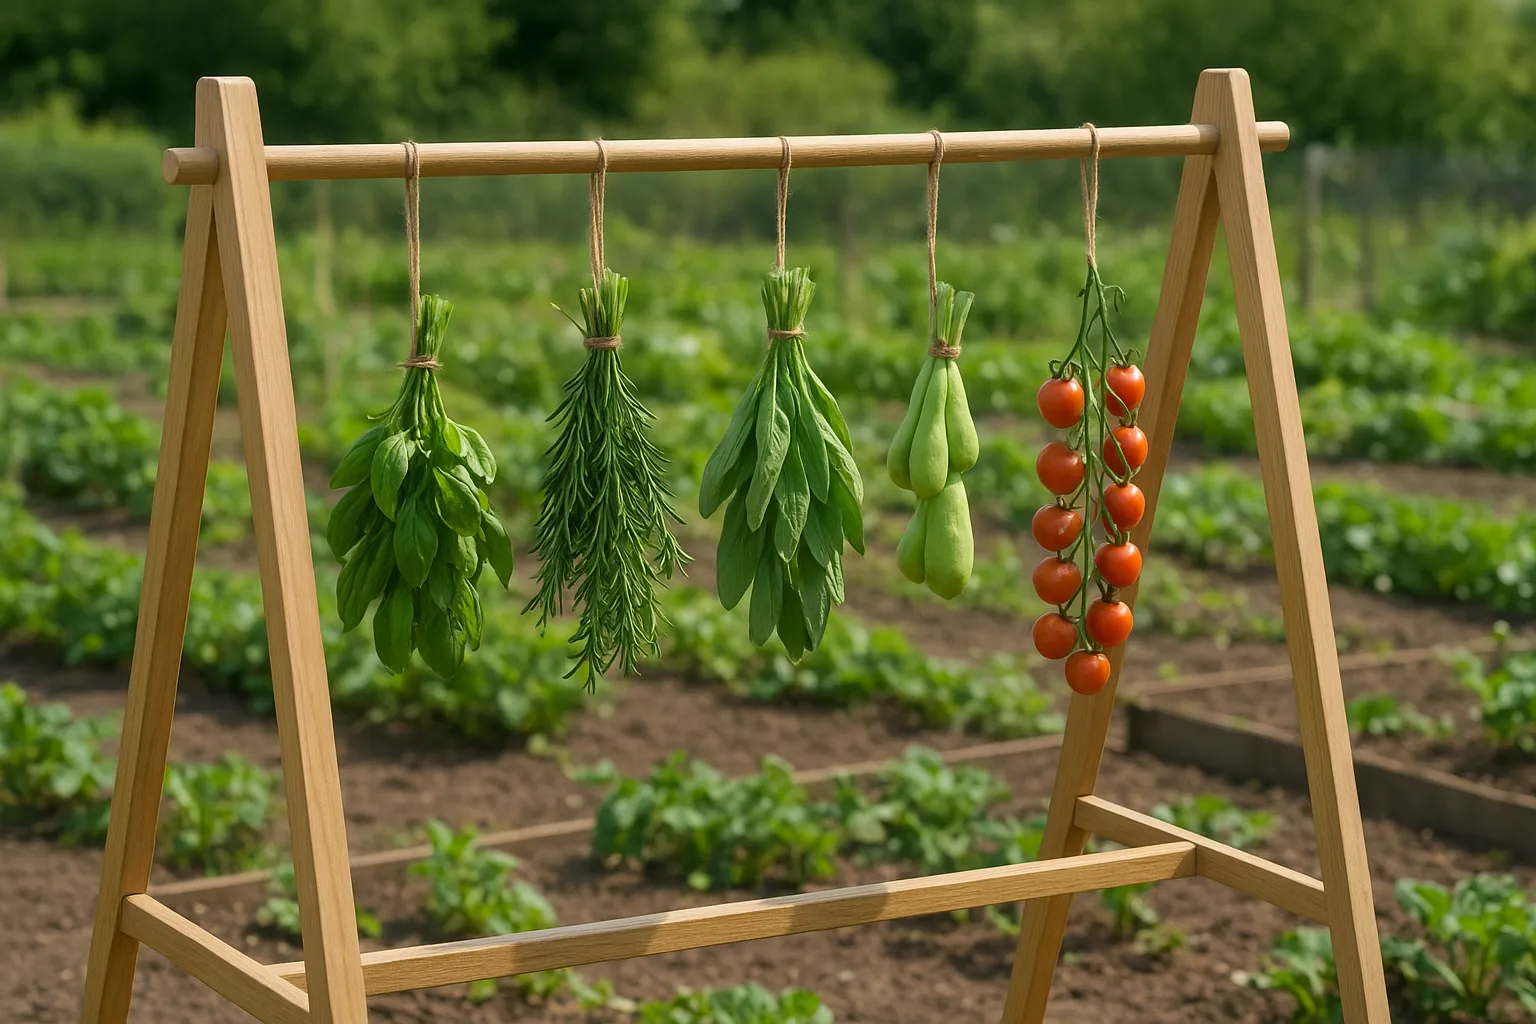
Series: The UK Allotment Year
Phase 4: Preserving & Using Your Harvest — Part 35 of 50
After the abundance of summer and autumn, this section dives into how to store, preserve, and enjoy your allotment produce year-round.
Building a Simple Outdoor Produce Drying Rack
As autumn settles in across the UK, many allotment holders find themselves with an abundance of herbs, chillies, and soft fruits ready to preserve. Drying these crops outside is a natural, eco-friendly way to extend their shelf life and enjoy the flavours of your allotment well into winter. Building a simple outdoor produce drying rack now means you can start preserving your harvest efficiently and sustainably.
Why Build Your Own Drying Rack?
Commercial drying racks can be expensive or bulky, but a DIY rack is affordable, customised to your space, and lets you use sustainable materials. Plus, it helps air circulate naturally around your produce, drying it evenly while keeping it safe from pests and damp.
Choosing the Right Spot and Timing
- Location: Pick a sheltered spot that gets good airflow and plenty of indirect sunlight. Avoid direct harsh sun that can bleach herbs or dry too fast.
- Season: Early autumn is ideal, when days are still warm but humidity is lower. Drying in damp or rainy weather risks mould.
- Protection: Choose somewhere away from heavy rain, strong winds, and birds or insects.
Materials and Tools You’ll Need
- Wooden slats or untreated wooden dowels: Good for the frame and drying shelves. Avoid treated timber which can off-gas chemicals.
- Mesh or netting: Use organic cotton or fine garden mesh to lay produce on and keep insects out.
- Screws or nails: For assembly, preferably stainless steel to avoid rust.
- Basic tools: Saw, hammer or screwdriver, measuring tape, drill (optional), sandpaper.
- Natural finishes (optional): Use beeswax or a natural wood oil if you want to protect the wood without harmful chemicals.
Step-by-Step: How to Build Your Drying Rack
- Plan your dimensions: Decide how large your rack needs to be based on the volume of produce you want to dry and the space available. A good starting size is about 60cm wide, 40cm deep, and 100cm tall, with 3-4 shelves spaced evenly.
- Cut your wood: Cut four legs to your chosen height, then cut wooden slats or dowels for the horizontal shelves. Each shelf will need at least 3-4 slats spaced with about 2-3 cm gaps to allow airflow.
- Assemble the frame: Attach the legs to the shelves using screws or nails. Make sure shelves are level and spaced evenly.
- Attach the mesh: Stretch your mesh or netting tightly across each shelf frame and staple or tack it securely to the underside. This will support your produce and keep bugs away.
- Sand and finish: Sand any rough edges to avoid splinters. If desired, apply a natural finish to protect the wood from moisture.
- Set up in position: Place your drying rack in your chosen sheltered spot. You might want to add a simple cover like a light cloth or mesh tent if rain is expected.
Using Your Drying Rack
- Spread herbs, chillies, or soft fruits in a single layer, not overcrowded, to allow good airflow.
- Turn or shake produce daily to promote even drying.
- Check regularly for signs of mould or damp spots, removing any affected pieces immediately.
- Harvest early in the day after dew has dried for best results.
Quick Checklist
- Choose a sheltered, airy location with indirect sunlight
- Gather untreated wood, mesh, and basic tools
- Plan size based on your produce volume
- Assemble frame and attach mesh securely
- Sand and apply natural finish if desired
- Place rack outdoors, protected from rain
- Spread produce in single layers and turn daily
- Monitor for damp or mould regularly
Common Mistakes to Avoid
- Using treated or painted wood: Chemicals can leach into your food, so stick to untreated or naturally finished timber.
- Overcrowding the shelves: Piling produce too thickly prevents airflow and encourages mould.
- Choosing a damp or shaded spot: This slows drying and increases rot risk.
- Ignoring pests: Leaving the rack uncovered invites birds and insects to spoil your harvest.
- Not checking produce regularly: Mould can spread quickly if not spotted early.
Next Steps for This Month
Now you have your drying rack built and set up, it’s time to start collecting your harvest. Early autumn herbs like thyme, oregano, and sage dry particularly well, as do chillies and soft fruits like elderberries. Remember to pick on dry days and avoid harvesting wet or damp produce.
Once dried, store your produce in airtight containers in a cool, dark place. This simple step will help you enjoy the fruits of your labour through the winter months, adding flavour and colour to your cooking and preserving the spirit of your allotment all year round.
Keep an eye on the weather forecast and bring your rack under cover if rain or heavy dew is expected. Happy drying!
Previous: Freezing Herbs and Leafy Greens for Winter Use
Next: Allotment Etiquette: 10 Unwritten Rules of the UK Plot