
Series: The UK Allotment Year
Phase 3: Organic & Eco-Friendly Gardening — Part 24 of 50
Focuses on sustainable, low-impact methods — no-dig approaches, composting, water-saving, and wildlife-friendly practices to create healthy soil and ecosystems.
Making Your Own Compost: The Perfect Mix for UK Conditions
As spring begins to unfold across the UK, allotment holders everywhere are gearing up for another fruitful growing season. One of the best ways to give your crops a head start is by preparing your own compost—a rich, earthy mix that nourishes your soil and boosts plant health naturally. At this time of year, when garden waste starts to accumulate and the soil is ready to absorb nutrients, making compost is a practical task that sets you up for success throughout the year.
Why Composting Matters Now
Compost is the lifeblood of organic gardening, transforming everyday green waste into a soil conditioner packed with beneficial microbes and nutrients. Starting your compost heap or bin in spring means you can take advantage of warmer temperatures and increased microbial activity, speeding up decomposition. This results in ready-to-use compost by late summer or early autumn, perfect for enriching your plot’s soil before planting winter crops or mulching.
Key Steps to Making Perfect Compost for UK Allotments
- Choose the Right Spot Pick a well-drained, partially shaded area on your allotment for your compost heap or bin. Avoid placing it directly on concrete or tarmac to allow earthworms and microbes to access the pile from below.
- Gather Your Materials
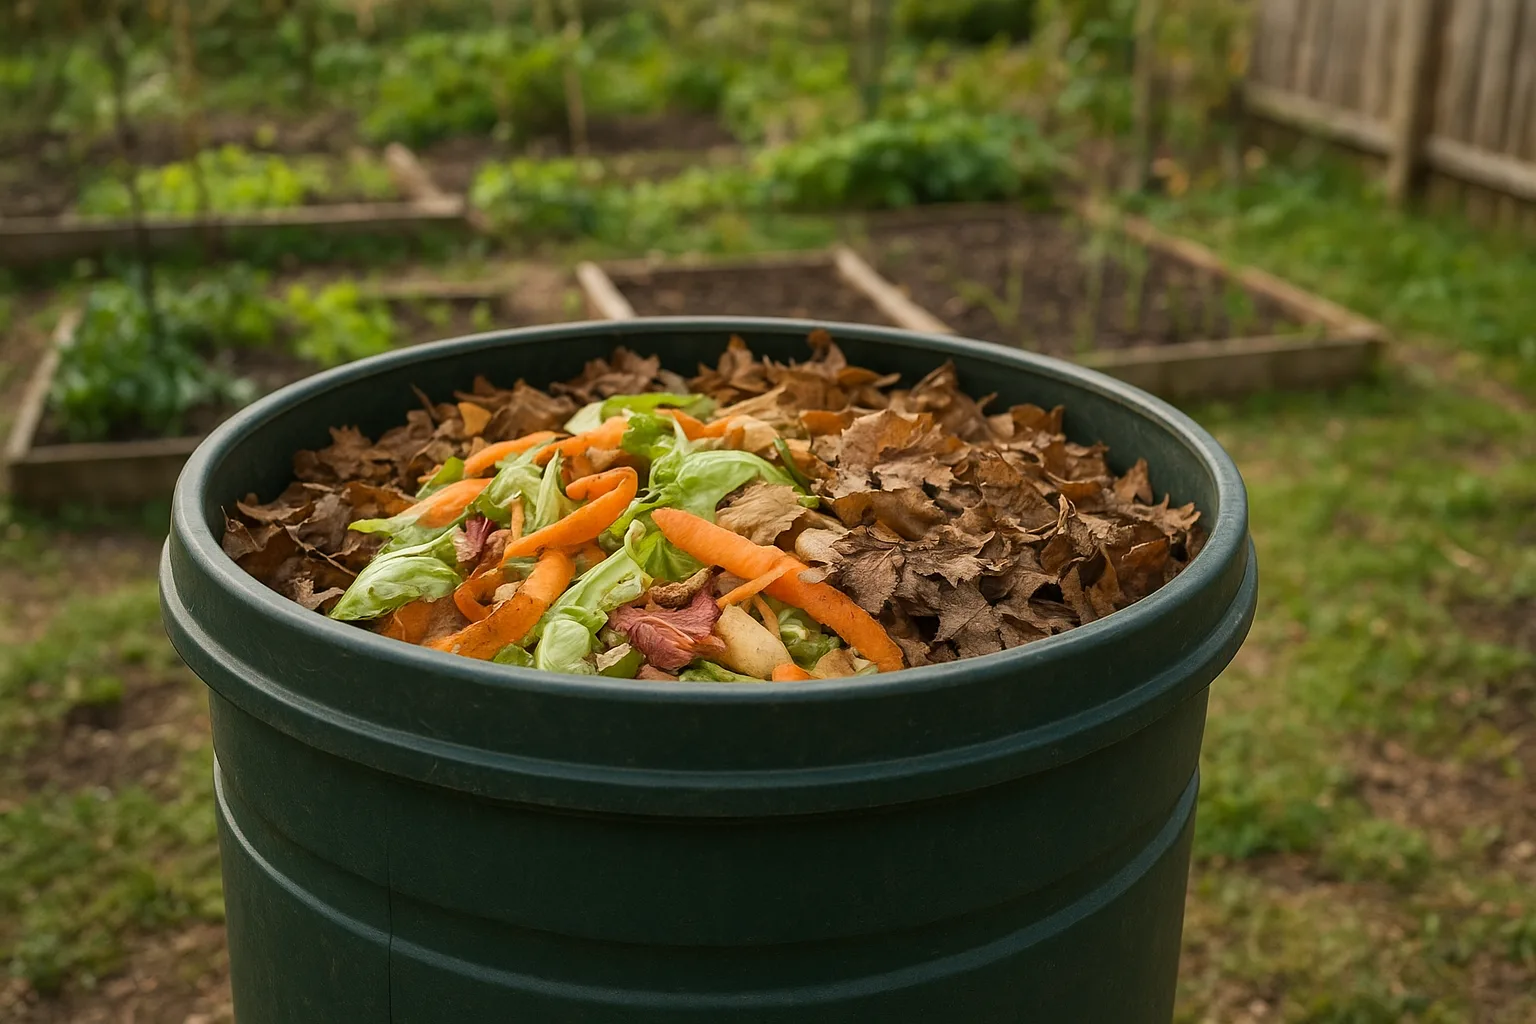
The secret to good compost is a balanced mix of ‘greens’ and ‘browns’:
- Greens: Fresh grass clippings, vegetable peelings, garden weeds (before seeding), and tea leaves.
- Browns: Dry leaves, straw, shredded cardboard, newspaper (non-glossy), and woody prunings.
- Layer Your Compost Start with a 10cm layer of coarse browns to aid airflow. Alternate layers of greens and browns, aiming for roughly 3 parts brown to 1 part green by volume. This ratio keeps the heap balanced—too much green can cause odour, too much brown slows decomposition.
- Maintain Moisture Your compost should be as damp as a wrung-out sponge. Water dry heaps lightly, especially during dry spells. Too wet and it risks going anaerobic (smelly and slow); too dry and breakdown stalls.
- Turn Regularly Every 2–3 weeks, use a garden fork or compost aerator tool to turn the heap. This introduces oxygen, speeds up decomposition, and stops it becoming compacted.
- Monitor Temperature A well-working compost heap will heat up in the centre to around 55–65°C, which helps kill weed seeds and pathogens. If it’s not warming up, add more green material and turn more frequently.
Tools and Materials You’ll Need
- Compost bin or a dedicated heap space
- Garden fork or compost aerator
- Watering can or hose with fine spray
- Secateurs for chopping woody material
- Shredder (optional, but helpful for speeding up breakdown)
- Protective gloves
Quick Checklist for Starting Your Compost
- Choose a sheltered, drained spot on your plot
- Collect a balance of green and brown materials
- Layer materials with coarse browns at the base
- Keep the heap moist but not soggy
- Turn every 2–3 weeks to aerate
- Monitor for heat and smell—should be earthy, not rotten
Common Mistakes to Avoid
- Too Much Green Waste: Leads to slimy, smelly compost. Balance with plenty of brown materials.
- Ignoring Moisture Levels: Compost too dry won’t break down; too wet becomes smelly and anaerobic.
- Not Turning Enough: A compacted heap slows decomposition and can produce bad odours.
- Adding Unsuitable Waste: Meat, dairy, diseased plants, or cooked food can attract pests and cause problems.
- Starting on Concrete or Plastic: This blocks access to soil organisms that help break down the heap.
Seasonal Timing and Next Steps
In spring and early summer, focus on building your heap with freshly cut grass, weeds, and garden waste. As the season progresses, keep turning and monitoring moisture to encourage rapid breakdown. By late summer, your compost should be dark, crumbly, and ready to use.
Use your finished compost to enrich vegetable beds, fruit bushes, and flower borders this autumn. Mulching with compost helps retain soil moisture and adds a slow release of nutrients through the winter months.
For the rest of the UK allotment year, continue to collect and store brown materials like fallen leaves and straw to keep your compost balanced. Consider setting up a second heap or bin to allow one batch to mature while you start another.
Making your own compost is one of the most rewarding and eco-friendly ways to improve your allotment soil. With a little attention and patience, you’ll have a steady supply of rich, homemade compost ready to feed your plants season after season.
This post is part of the ‘The UK Allotment Year’ series (slug=the-uk-allotment-year), part 24 of 50. Phase 3: Organic & Eco-Friendly Gardening.
Previous: How to Start a No-Dig Allotment: Tools and First-Year Results
Next: Rainwater Harvesting and Water-Saving Tips