Series: WordPress Performance on DirectAdmin (Rocky Linux 9)
Phase 6: Caching & CDN Strategy — Part 21 of 30
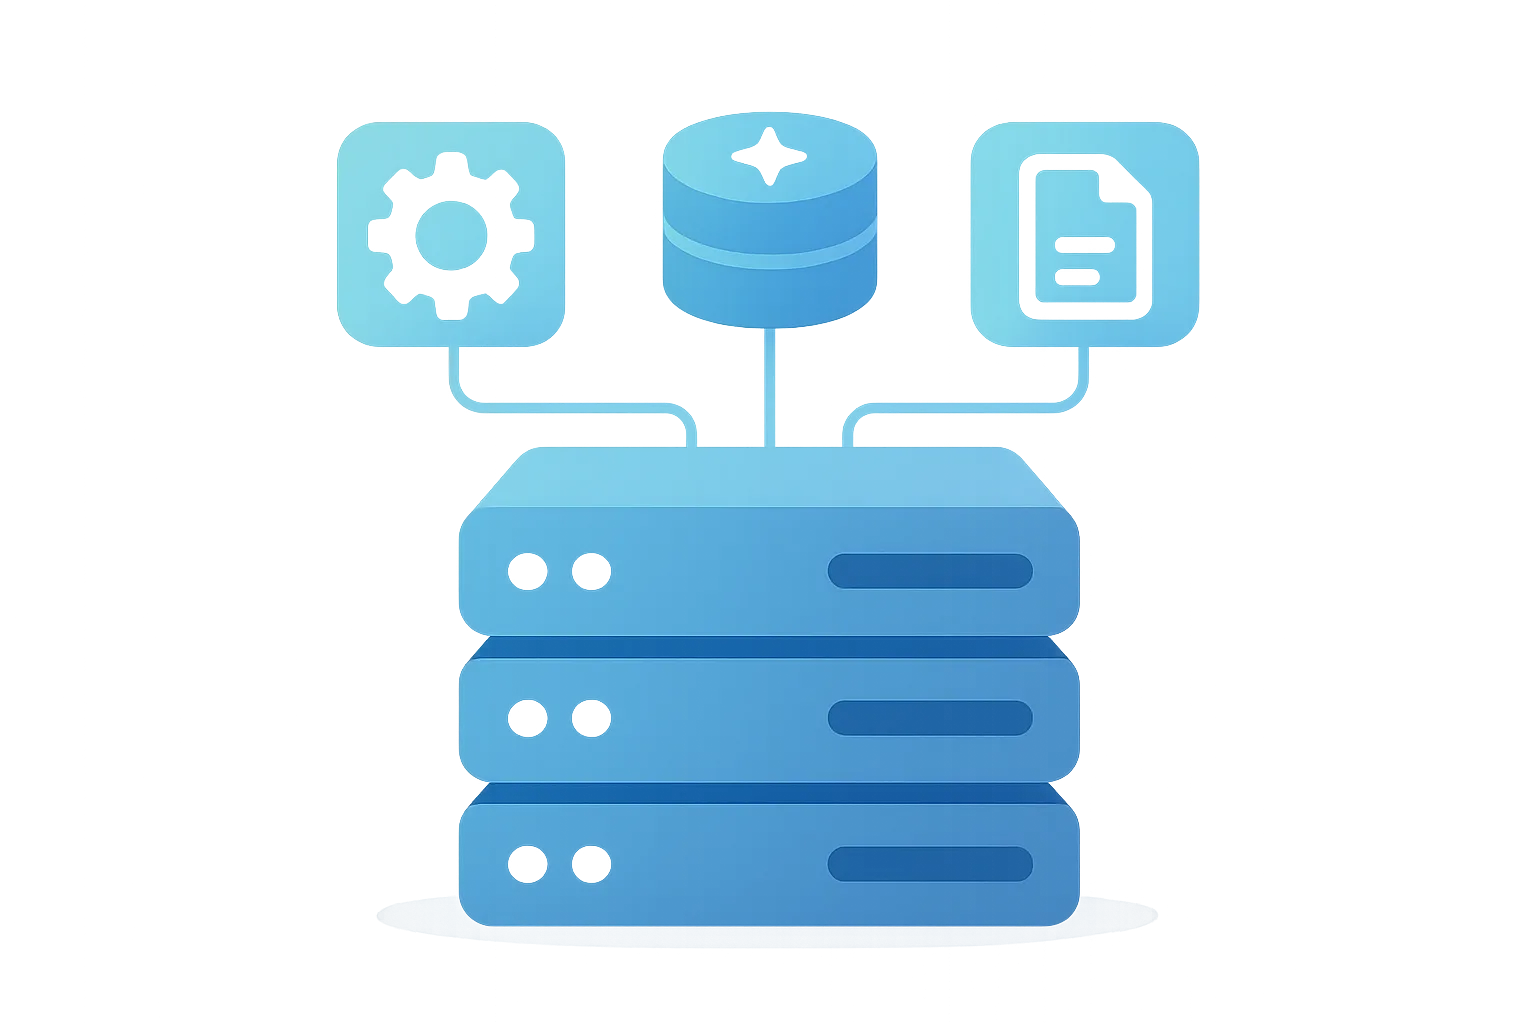
WordPress Caching Layers Explained: OPcache vs Redis vs Page Cache
Understanding and correctly configuring caching is essential for high-performing WordPress deployments, especially when running on DirectAdmin with Rocky Linux 9 (EL9). This article breaks down the main caching layers—OPcache, Redis object cache, and page cache—highlighting their roles, configuration specifics for DirectAdmin’s environment, and practical tuning/testing methods. We focus on sysadmin-level implementation, using safe, reproducible procedures and DirectAdmin-compatible defaults.
Caching Overview: Layered Approach
WordPress performance hinges on minimizing redundant computation and database queries. This is achieved by stacking caching layers:
- Opcode Cache (OPcache): Speeds up PHP execution by caching compiled bytecode.
- Object Cache (e.g., Redis): Persists database query results and transient data.
- Page Cache: Stores full HTML output to serve requests without invoking PHP/Core.
Each layer addresses a specific bottleneck. Combining them yields compounding performance gains, but requires careful configuration—especially on shared hosting or multi-site DirectAdmin setups.
OPcache: PHP Bytecode Caching
What OPcache Does
OPcache is built into PHP. It caches precompiled script bytecode in memory, eliminating PHP source parsing and compilation overhead for each request.
Configuring OPcache on DirectAdmin (Rocky Linux 9)
- Ensure OPcache is installed and enabled for all PHP-FPM versions in use:
sudo dnf install php-opcache
sudo systemctl restart php-fpm- Set recommended defaults in your PHP-FPM pool templates. For per-domain tuning, edit
/usr/local/directadmin/data/users/<username>/php/php-fpmXX.confor set incustom1_post.conffor custom templates.
[opcache]
opcache.enable=1
opcache.memory_consumption=128
opcache.interned_strings_buffer=16
opcache.max_accelerated_files=10000
opcache.validate_timestamps=1
opcache.revalidate_freq=60- Apply config changes and reload relevant PHP-FPM pools:
sudo systemctl reload php-fpmTesting OPcache Status
- Check OPcache status via WP-CLI:
wp opcache status --allow-root- Or, verify via PHP CLI:
php -i | grep opcache- To monitor for errors/warnings after changes:
sudo tail -n 50 /var/log/php-fpm/error.logRedis Object Cache: Persistent Database Caching
Why Object Cache?
WordPress’s built-in object cache is non-persistent by default. Redis allows storing transients and query results outside of PHP’s memory, making them available across requests and even after PHP-FPM restarts.
Setting Up Redis on Rocky Linux 9
- Install Redis server and PHP extension:
sudo dnf install redis php-pecl-redis
sudo systemctl enable --now redis- Open Redis port only if external access is needed (not recommended for most DirectAdmin setups):
sudo firewall-cmd --permanent --add-port=6379/tcp
sudo firewall-cmd --reload- Warning: Exposing Redis externally is risky. Prefer UNIX socket or local-only TCP.
- Enable and configure Redis object caching in WordPress:
- Install a plugin (e.g.,
wp-redisorredis-cache) using WP-CLI:
wp plugin install redis-cache --activate
wp redis enable
Configuration Defaults
- Redis socket:
/var/run/redis/redis.sock(preferred for local security). - Limit memory usage by setting
maxmemoryin/etc/redis.conf:
maxmemory 128mb
maxmemory-policy allkeys-lru- Restart Redis after config changes:
sudo systemctl restart redisTesting Redis Object Cache
- Verify Redis is active in WordPress:
wp redis status- Check Redis logs:
sudo tail -n 50 /var/log/redis/redis.log- Test object cache performance by benchmarking with and without Redis enabled (see below for tools).
Page Cache: Full-Page Output Caching
Concept and Impact
Page caching stores the complete HTML output for given URLs, allowing NGINX or Apache to serve static files directly, bypassing PHP and the database entirely. This is often the most impactful cache layer for anonymous traffic.
DirectAdmin-Specific Implementation
- Most DirectAdmin stacks use NGINX as a reverse proxy or standalone. Some use Apache with mod_cache. Confirm your setup before proceeding.
Recommended Plugins and Integration
- For almost all DirectAdmin WordPress sites, use a robust plugin (e.g.,
cache-enabler,w3-total-cache, orwp-super-cache). - Install and activate via WP-CLI:
wp plugin install cache-enabler --activate- For NGINX static file serving, ensure your vhost template includes rules to serve
cache-enablergenerated files. Example snippet for/usr/local/directadmin/custombuild/custom/nginx_templates/wordpress.conf:
location / {
    try_files /wp-content/cache/cache-enabler/${http_host}${request_uri}/index.html $uri $uri/ /index.php?$args;
}- Warning: Updating vhost templates and reloading NGINX/Apache can cause brief downtime. Always validate configs before reloading:
sudo nginx -t
sudo systemctl reload nginx
Testing Page Cache Effectiveness
- Use
curlto verify cache headers or static file hits:
curl -I https://example.com/- Benchmark with
wrk(install withsudo dnf install wrk):
wrk -t4 -c32 -d15s https://example.com/- Monitor web server logs for cache HIT/MISS patterns:
sudo tail -f /var/log/nginx/access.logChecklist: Deploying Caching Layers Safely
- Test each layer independently before combining.
- Monitor error logs after each change (
php-fpm,nginx,redis). - For DirectAdmin, apply changes via templates for persistence across rebuilds/updates.
- Validate with WP-CLI and practical load test tools (
curl,wrk,k6). - Document domain-specific overrides (per-vhost, per-pool) for future reference.
Summary Table: Cache Layer Capabilities
| Layer | What It Caches | Best For | Config Location | Recommended Default |
|---|---|---|---|---|
| OPcache | PHP bytecode | All sites | php.ini, fpm.d/*.conf | 128MB memory, 10k files |
| Redis Object Cache | DB query results, transients | Dynamic, logged-in traffic | /etc/redis.conf, wp-config.php | 128MB Redis, UNIX socket |
| Page Cache | Full HTML pages | Anonymous traffic | Plugin settings, NGINX/Apache vhost | Enabled for all public pages |
Conclusion
Effective WordPress caching on DirectAdmin with Rocky Linux 9 requires careful layering and configuration of OPcache, Redis object cache, and page cache. Always start with OPcache, then layer Redis for dynamic data, and finish with a properly integrated page cache—modifying panel templates as needed for persistence. Test each stage with WP-CLI and load tools, and monitor logs for early detection of misconfiguration. This systematic approach ensures scalable, reproducible, and high-performing WordPress hosting.
Note: This article offers general technical guidance. Validate all configurations in a safe environment before applying them to production.
Previous: How to Identify Slow Apache Requests in a WordPress Site
Next: Cloudflare + WordPress on DirectAdmin: Correct Setup Without Breaking Admin