MySQL InnoDB Cluster gives you a native high-availability setup based on Group Replication and MySQL Router. Podman lets you run it in containers without a daemon, using standard systemd tooling on Rocky Linux.
This article walks through a small but realistic InnoDB Cluster running with Podman on a single Rocky Linux host. The same pattern can be extended across multiple hosts for production.
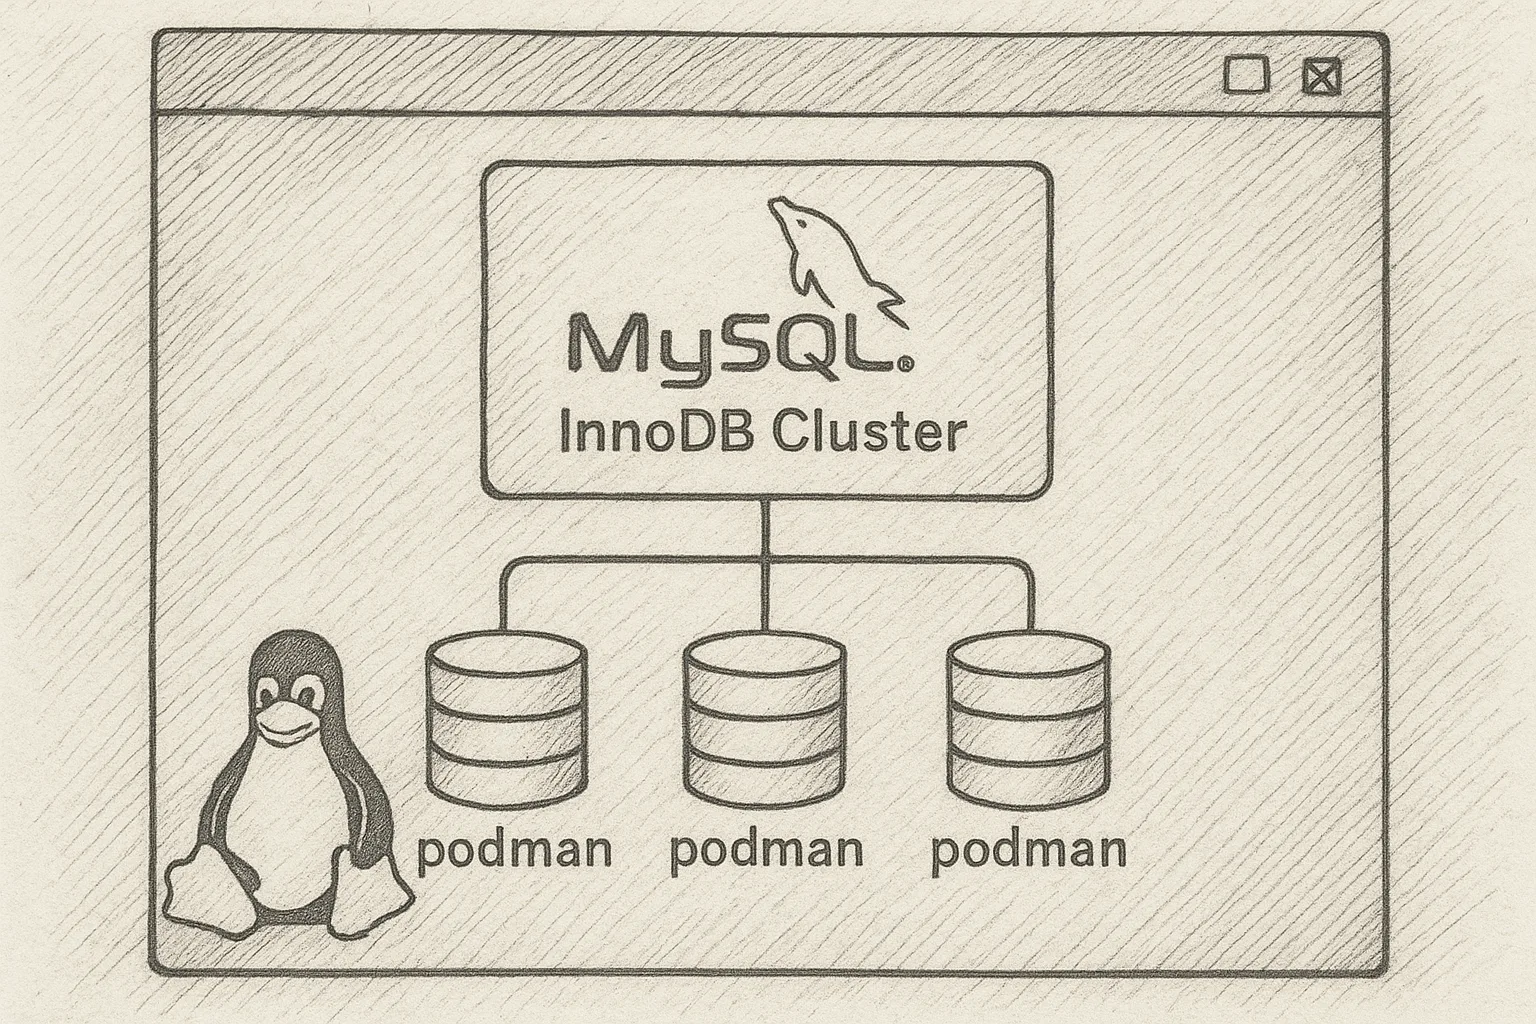
Architecture overview
We will build:
- 3 MySQL Server instances (InnoDB Cluster members) using Group Replication
- 1 MySQL Router instance for application traffic
- All running as rootless Podman containers on Rocky Linux
┌─────────────────────────────────────────────┐
│               Rocky Linux host             │
│                                             │
│  ┌─────────┐  ┌─────────┐  ┌─────────┐     │
│  │ mysql1  │  │ mysql2  │  │ mysql3  │     │
│  │ GR node │  │ GR node │  │ GR node │     │
│  └────┬────┘  └────┬────┘  └────┬────┘     │
│       │            │            │          │
│       └────────────┴────────────┘          │
│             Group Replication              │
│                                             │
│                 ┌───────────┐              │
│                 │  router   │              │
│                 │  RW/RO    │              │
│                 └─────┬─────┘              │
│                       │                    │
│                   Applications              │
└─────────────────────────────────────────────┘
Prerequisites on Rocky Linux
Install Podman and basic tools
sudo dnf -y install podman podman-docker jq

# Optional but useful for rootless containers
sudo dnf -y install slirp4netns fuse-overlayfs
Confirm Podman works:
podman run --rm quay.io/podman/helloEnable rootless Podman (recommended)
Run containers as a non-root user to reduce risk:
# As your regular user
mkdir -p ~/.config/containers

# Ensure subuid/subgid ranges exist
grep $(whoami) /etc/subuid /etc/subgid || echo "Check subuid/subgid config"
On modern Rocky Linux, subuid/subgid are usually preconfigured. If not, your system administrator should add entries in /etc/subuid and /etc/subgid.
Prepare a Podman network for the cluster
We will create a user-defined bridge network so containers can resolve each other by name.
podman network create innodbnet

podman network inspect innodbnet | jq '.[0].subnets'
Note the subnet; we will use hostnames only, but knowing the subnet helps with firewall rules if needed.
Choose container images
Use an official MySQL Server image that supports InnoDB Cluster features (Shell and Group Replication). For example:
IMAGE=mysql:8.0Adjust the tag to match your standardised version policy. Ensure the same version is used for all nodes.
Create local volumes for data
Use Podman volumes so container rebuilds do not wipe data.
podman volume create mysql1-data
podman volume create mysql2-data
podman volume create mysql3-data
podman volume create router-conf
Start MySQL instances with Podman
We will start three MySQL instances with:
- Deterministic server IDs
- Group Replication ports exposed inside the Podman network
- Same root password for simplicity (use a password manager in real setups)
MYSQL_ROOT_PASSWORD='StrongRootPass!ChangeMe'
IMAGE=mysql:8.0

# mysql1
podman run -d --name mysql1 \
  --network innodbnet \
  -e MYSQL_ROOT_PASSWORD="$MYSQL_ROOT_PASSWORD" \
  -v mysql1-data:/var/lib/mysql \
  $IMAGE --server-id=1 --log-bin=mysql-bin-1

# mysql2
podman run -d --name mysql2 \
  --network innodbnet \
  -e MYSQL_ROOT_PASSWORD="$MYSQL_ROOT_PASSWORD" \
  -v mysql2-data:/var/lib/mysql \
  $IMAGE --server-id=2 --log-bin=mysql-bin-2

# mysql3
podman run -d --name mysql3 \
  --network innodbnet \
  -e MYSQL_ROOT_PASSWORD="$MYSQL_ROOT_PASSWORD" \
  -v mysql3-data:/var/lib/mysql \
  $IMAGE --server-id=3 --log-bin=mysql-bin-3
Check that all three containers are running:
podman psInstall MySQL Shell inside one container
The MySQL Shell (mysqlsh) is the preferred tool to configure an InnoDB Cluster. If the image does not include it, install it inside one container (for example mysql1).
podman exec -it mysql1 bash

# Inside container (Debian/Ubuntu-based image example)
apt-get update && apt-get install -y mysql-shell

exit
Use the appropriate package manager for your chosen image family.
Configure InnoDB Cluster with MySQL Shell
Connect to the first instance
podman exec -it mysql1 mysqlsh root@mysql1 -pIn MySQL Shell, switch to JavaScript or Python mode as you prefer. The examples below use JavaScript (default).
Prepare instance for InnoDB Cluster
Run the built-in configuration helper. This will adjust required settings (Group Replication, binary logging, etc.). Review the prompts carefully before accepting.
var pw = 'StrongRootPass!ChangeMe';

dba.configureInstance('root@mysql1:3306', {
  password: pw,
  interactive: true
});
Repeat for the other two instances from the same shell:
dba.configureInstance('root@mysql2:3306', {
  password: pw,
  interactive: true
});

dba.configureInstance('root@mysql3:3306', {
  password: pw,
  interactive: true
});
The tool may ask to restart the server. If so, exit MySQL Shell and restart the relevant containers:
podman restart mysql1 mysql2 mysql3Then reconnect to mysql1 with mysqlsh.
Create the InnoDB Cluster
From MySQL Shell connected to mysql1:
var cluster = dba.createCluster('prodCluster', {
  localAddress: 'mysql1:33061'
});
Add the remaining instances:
cluster.addInstance('root@mysql2:3306', {
  password: pw,
  localAddress: 'mysql2:33061'
});

cluster.addInstance('root@mysql3:3306', {
  password: pw,
  localAddress: 'mysql3:33061'
});
Verify cluster status:
cluster.status()You should see three ONLINE members.
Deploy MySQL Router with Podman
MySQL Router provides stable endpoints for applications and understands InnoDB Cluster topology. We will run it as another container on the same network.
Bootstrap Router configuration
Use MySQL Shell to deploy Router configuration into a directory we mounted as a Podman volume (router-conf).
# Still inside mysqlsh on mysql1

var routerDir = '/router-conf';

shell.options.shellPrompt = '\\u@\\h \\d> ';

dba.configureLocalInstance('root@mysql1:3306', {password: pw});

shell.runSql("CREATE USER IF NOT EXISTS 'router'@'%' IDENTIFIED BY 'RouterPass!ChangeMe'");
shell.runSql("GRANT ALL PRIVILEGES ON *.* TO 'router'@'%'");

shell.dumpRouterConfiguration('root@mysql1:3306', {
  user: 'router',
  password: 'RouterPass!ChangeMe',
  directory: routerDir,
  runAsRoot: false
});
Exit MySQL Shell and copy the router config out of the container into the Podman volume. The simplest option is to mount the volume directly; for clarity, we will use a temporary helper container:
# Create a helper container mounting the router-conf volume
podman run --rm -it --name router-helper \
  --network innodbnet \
  -v router-conf:/router-conf \
  $IMAGE bash
From another terminal, copy the configuration from mysql1 into the volume via podman cp or re-run dumpRouterConfiguration with the directory set to the mounted path. The exact mechanics depend on your image; the key requirement is that the router container will see a populated configuration directory.
Run the Router container
Once the configuration directory in router-conf is populated:
podman run -d --name router \
  --network innodbnet \
  -p 6446:6446 -p 6447:6447 \
  -v router-conf:/router-conf \
  $IMAGE mysqlrouter --config /router-conf/mysqlrouter.conf
Now the host exposes:
localhost:6446– read-write endpointlocalhost:6447– read-only endpoint
Test connectivity:
mysql -h 127.0.0.1 -P 6446 -u root -pManaging the cluster with Podman
Start and stop services
# Stop all
podman stop router mysql1 mysql2 mysql3

# Start all
podman start mysql1 mysql2 mysql3 router

# Check logs
podman logs mysql1 | tail
podman logs router | tail
Optional: systemd units for auto-start
Podman can generate systemd unit files. For example:
podman generate systemd --name mysql1 --files --new

# Move unit files into ~/.config/systemd/user or /etc/systemd/system
# Then enable and start via systemctl --user or systemctl
Ensure the units start in a sensible order (database nodes before router).
Best practices and operational tips
1. Persist configuration and data
- Always use Podman volumes for
/var/lib/mysqland Router config. - Avoid storing configuration only inside ephemeral containers.
2. Resource limits
- Use
--memoryand--cpusto prevent a single node from exhausting host resources. - Size
innodb_buffer_pool_sizebased on container memory, not host memory.
3. Networking and firewalls
- Open MySQL client ports (3306 or Router ports 6446/6447) on the host firewall if clients connect remotely.
- For multi-host clusters, ensure Group Replication ports are reachable between hosts.
4. Backups
- Take logical backups via
mysqldumpor physical backups via a dedicated tool from outside the container, connecting over TCP. - Do not rely on container snapshots as your only backup method.
5. Upgrades
- Standardise on a specific MySQL image tag; avoid
latestin production. - Upgrade nodes one by one, following MySQL InnoDB Cluster documentation.
This article offers general technical guidance. Validate all configurations in a safe environment before applying them to production.
Running MySQL InnoDB Cluster with Podman on Rocky Linux gives you a repeatable, containerised HA database stack that still feels familiar to traditional DBAs. By combining proper volume management, controlled networking, and MySQL Shell automation, you can build a small lab cluster quickly and evolve it into a production-ready, multi-host deployment with clear operational boundaries.